Hi again friends!
Another year has almost passed with all the good and the bad stuff. Time runs faster and faster, its flow never stops. And neither do the birds! Well they stop from time to time to rest on a branch, on sidewalks or roofs and then they fly again. Or they keep swimming into lakes and seas in search for their precious food. Either way for me it is a delight both watching and photographing them. For improving my bird photography results, this year I even bought a new lens (Tamron 100-400mm f4.5-6.3) which is both faster (in autofocus) and longer than the old one (a 70-300mm Tamron). After using it more times I came to some conclusions both regarding settings and taking bird pictures in general, some of which might apply to other photographic genres as well.
Let me share my new findings with you.
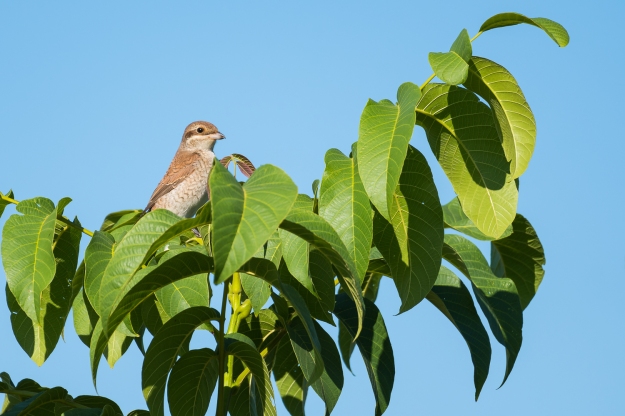
1) As I probably mentioned before, patience is the key to a great result. This actually applies to everything and in this case I’ve recently experienced it when shooting some small birds. These tiny fellows were continuously flying and jumping from branch to branch and from tree to tree. It was pretty difficult to get close to them as in such cases even a long lens doesn’t help too much. I decided to discretely “stalk” them as they went to the next tree and in the same time keep my camera ready. I tried to hide as much as possible by using whichever obstacles I found in my way and took a picture each time the bird was in my line of sight. Well, the distance was not small enough to fill the frame with the subject but at least I got something. After all when talking about a subject you don’t see every day one must be grateful for getting a photo of it. Better something imperfect than nothing! The learning I got from this was: don’t move away once the bird changed location. See where it goes and try to follow up!
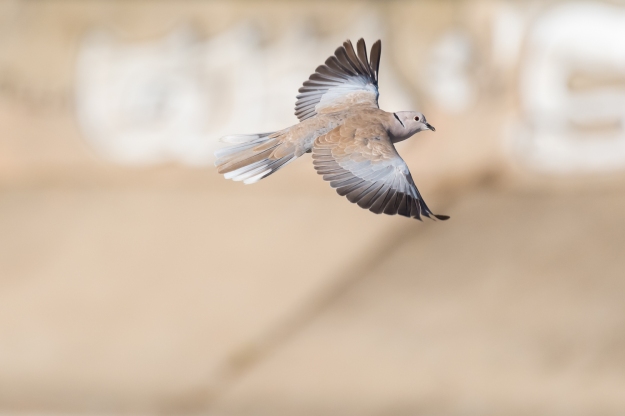
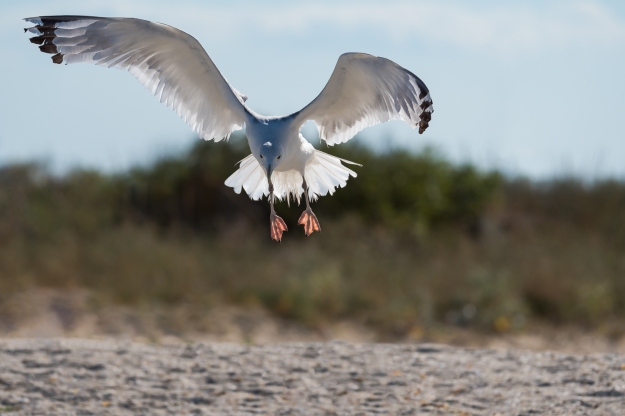
2) After buying the new telephoto lens I noticed that it would hunt for the subject in many birds-in-flight situations. I was a bit frustrated by this but then I found out that the cause was an incorrect setting, namely the focus limit was not setup. Some longer lenses have a switch that helps the photographer limit the focusing distance to a minimum one in order to speed AF. Say for example your lens has a minimum focusing distance of 1.5m. When shooting a bird in flight it makes no sense to focus at such a small distance so you can set it for example to minimum 3-4m instead. It’s simple and straightforward: with the switch into normal (unlimited) position focus on a subject located at the wanted minimum distance. Then flip the switch into limiting position. The focus will not go less than the chosen distance, which might lead to a dramatic improvement of results. With this setup done I even managed to get good shots of small birds flying erratically. A good example is the common swift which most of the time proves to be a real challenge to capture on the camera sensor. Bottom line: if your lens has this feature don’t hesitate to use it when needed! However don’t forget to reset once the scenario changes and focusing speed is no longer of utmost importance (but instead minimum distance is!). Also I recommend reading the lens specifications before trying this setting as there might be some differences from product to product.
3) When shooting swimming birds that are moving along the lake I noticed that many of the pictures would get blurry even when the bird was moving slowly on the water surface. It was again related to lens settings. Unlike my old Tamron lens (70-300mm VC) the new super-telephoto had a “sports mode” setting switch for image stabilisation. After activating it the results improved considerably (I was doing a kind of panning and the normal stabilisation was conflicting with it). So use this setting if you have it on your lens when stabilisation is required for moving subjects, say panning scenarios. Again, read the specs before doing this.
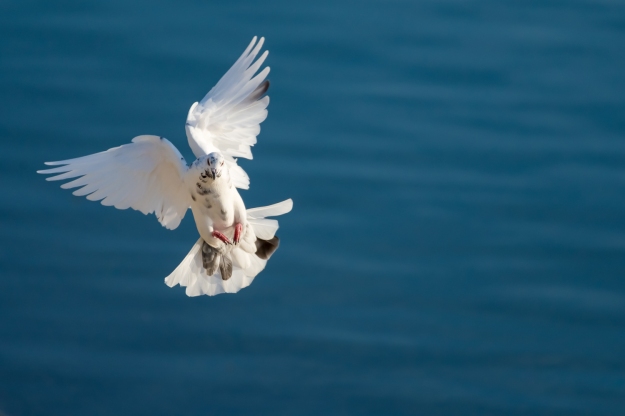
4) I learned that it is not always a good idea to wait too much to get in a good shooting position of the subject. Better shoot as fast and as much as possible and adjust settings, distance and framing as shooting continues. Of course there are situations when the subject stays longer (for example perched pigeons) but in many cases it takes off or moves away in a matter of seconds. Not only once it happened to me to see a beautiful bird, have a good position and instead of shooting I decided to get even closer to better fill the frame. And then it took off and I got nothing. So once you have a good line of sight do start shooting. Better take 2-3 pictures (or 20 if the bird proves to stay longer) and keep one than take nothing and keep nothing! Also if you start shooting early and then progressively advance towards the subject it is likely that it gets used to being photographed and stays longer.
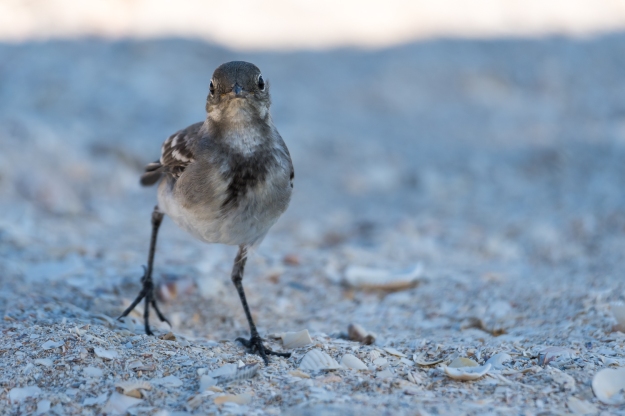
5) An idea came into my head: if the bird can easily be approached and doesn’t get scared why not take a close portrait of it? Actually it’s an older idea but I was usually more attracted by BIF photos and “classic perched” ones that I almost forgot about it completely. Nonetheless I consider that it can bring a drop of originality into the photography portfolio. The primary conditions of course are that the bird lets one approach close enough and the photographer has a long lens that enables capturing only a small part of its body. I managed to do this with seagulls perched on rocks at the seaside after observing that there are moments during the day when they tend to rest on the cliffs for a longer period. They were pretty approachable and so I came closer and used my long telephoto lens to immortalise them. So who said portraits are just for humans?
6) When shooting swimming birds it’s good to take into account they might take off too! This is what happened when I photographed two white swans on the lake last week. It was a lovely couple and they were swimming gracefully next to each other. I took a few pictures and then continued to watch them. Suddenly they started flying close to the water surface. This completely caught me by surprise as I didn’t expect this to happen! I managed to take some pictures but neither the framing nor the settings were perfect (see last two pictures in the below gallery). Had I anticipated this before then maybe I could have got a better output. So not only patience but also anticipation is important! This actually applies for any type of bird which is able to fly. After taking enough pictures with the subject perched or swimming it’s a good idea to switch to the “in flight” settings and anticipate the takeoff.
7) Last but not least using the so called “ISO insurance” explained by Steve Perry in “Backcountry Gallery” is a good idea. It’s pretty simple: set a large enough shutter speed (say 1/500s) to be sure you get a sharp picture of the bird. Take a few pictures and then reduce the time of exposure (and ISO too!) to half (1/250s). After taking some more pictures reduce again by a stop and repeat the procedure until you reach the lowest acceptable shutter speed. Of course you need a subject that stays long enough to give the photographer time to experience this technique. It works fine for commonly encountered birds like pigeons, seagulls and even crows. It can be applied both when using manual mode with auto-ISO (which I usually use for bird photos) and full manual mode. More details on https://backcountrygallery.com. By the way I highly recommend reading this page and watching the corresponding Youtube channel (both with same name) as there are tons of stuff to learn about shooting birds and photography in general.
This being said I now invite you to watch the photo gallery. But before doing this please be aware that some of my photos (including part of the ones contained in this post) are also available for commercial/advertorial use by purchasing a specific license. For more details feel free to visit my Picfair online shop page: https://liviup.picfair.com.
As usual I’m looking forward to your comments and thoughts. Take care!
P.S. Check these posts too:
Birds. And Some Findings Regarding Shooting and Editing
Birds I Photographed for the First Time in 2019. And the Story behind the Pictures.


